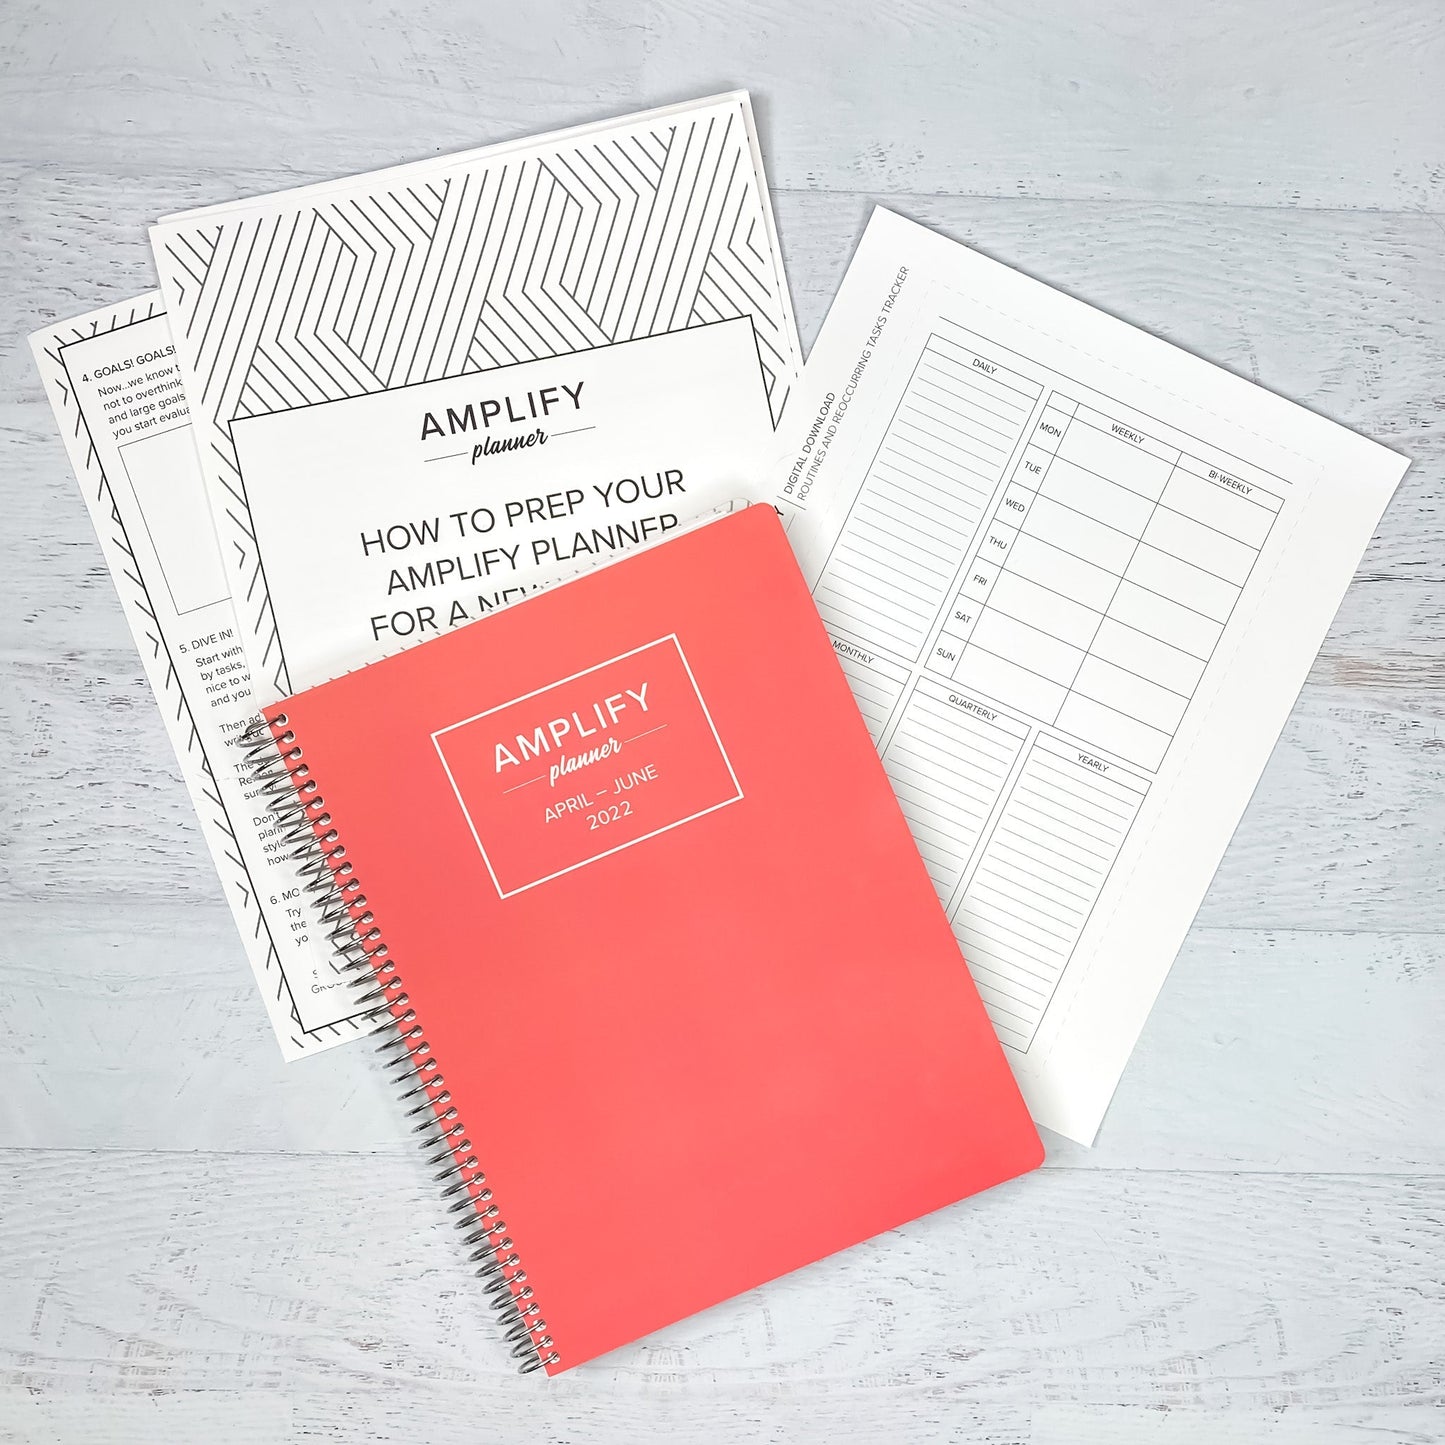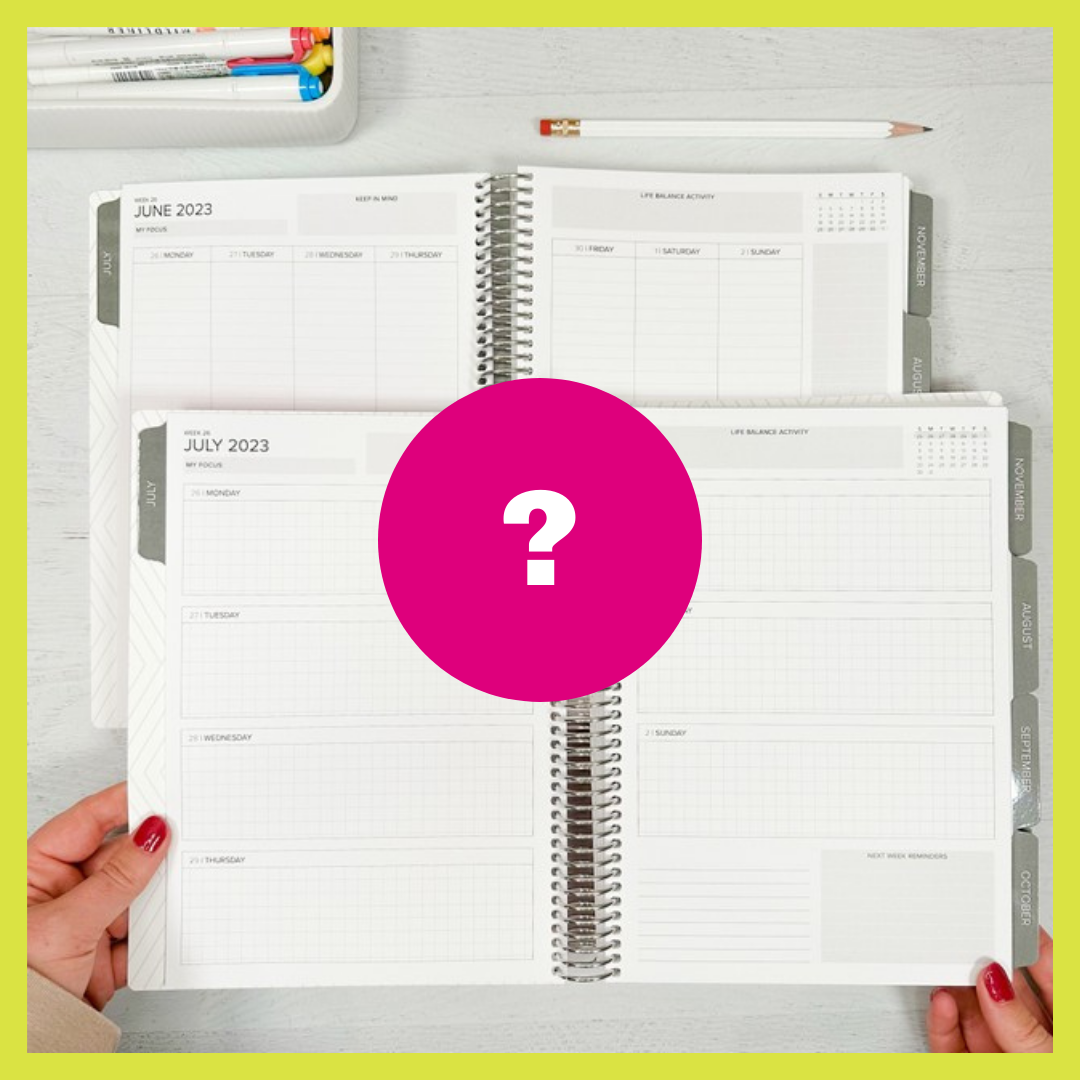
One of the really nice things about the Amplify Planner, is that it really gives you the freedom to do with it, whatever you want. Which is probably one of the reasons you chose it. The boxes aren't labeled, everything's really open. And for the most part, you can really customize it to whatever you want to be.
But sometimes that can feel a little overwhelming when you don't have a planner that tells you what each specific spot is for. It can get a little daunting, especially when you're not sure how you want to use those areas for yourself.
So with that being said, we thought it would be helpful to share with you one of the ways we approach setting up a new planner - that also coincides perfectly with the goals we set each quarter!
In this guide we're going to cover setting up your planner for YOU and even go over some goal setting tips.
Let's Talk About Your Goals

Before we even jump into setting up your planner for you, we highly recommend you first set your goals for the current quarter/month. After all, your goals will play a heavy role in how you use your planner each day.
Turn Your Goals Into Systems
"Goals are about the result you want to achieve, systems are about the processes that lead to those results."
"True long term thinking is goalless thinking, it's not about any single accomplishment. It's about the cycle of endless refinement and continuous improvement."
- James Clear, Atomic Habits
Your day to day is not just about getting things done. Instead, we should always be asking ourselves each day, "What can I do to create a better version of myself?"
Here are a couple of examples of turning goals into systems:
- Goal: Grow my social media followers
- System: Every day I will: 1. Post to social media, 2. Engage with accounts that follow and don't follow me, 3. Post my day to stories
- Goal: Get into shape and be healthier
- System: Every morning I will: 1. Wake up at 5am, 2. Do a 20 minute workout, 3. Drink 16oz of water
Setting Up Your Amplify Planner for YOU
Step 1. Map Out Each Of Your Spreads

In this first step, we recommend approaching your planner from a 30,000 ft. view (not literally, of course 😜).
Ask yourself, "What do I want to keep track of on a Monthly, Weekly, and Daily basis?"
You can use a blank notes page in the back of your planner or grab a scratch piece of paper. You can even repurpose our Routines & Reoccurring Tasks Tracker freebie for this step.
Write out these headings on the piece of paper:
- Monthly
- Weekly
- Daily
Under each heading, list out/brain dump all the things you'd like to track. It's ok if you have a couple of repeats in some of the spreads. You'll refine these in the next step.
⭐️ Pro Tip: If you're using a notes page in the back of your planner, you can use this as a reference as you go through the quarter. That way you remember what you said you'd use each section for AND you can make adjustments as you go along.
Step 2. Breakdown Spreads Into Sections

Next, you'll break out each spread into sections so you can decide what you want to do with each section of that spread.
You can use the same blank notes page in the back of your planner, or the scratch piece of paper.
For example, for the Daily Layout you'd list sections such as:
- Timeline
- Blank Box at the Top
- Priorities
- Task List
- Daily Habits
- Freedom Boxes
- Dot Grid Notes
Now under each of those sections, write out what you'd like to track - reference your brain dump you just did in Step 1. Again it's ok if you have repeats of things you want to track in more than one section. In the next step you'll actually test this out and decide which way you prefer.
Step 3. Use Sample Layouts

Download our sample layouts to test out your ideas before you set them in stone.
We know that setting up a new planner can feel intimidating, so we don't want you to get discouraged. This step really allows you to play with things with any pressure of getting it "right".
And in the words of Ms. Frizzle...Take chances, make mistakes, get messy!
(we see you millennials 😉)


